A Numberish switch is like an electronic switch that we know from our house. You can turn it on or you turn it off. It has 2 and only 2 possible values. True or False, On or Off, Open or closed, black or white, 0 or 1.
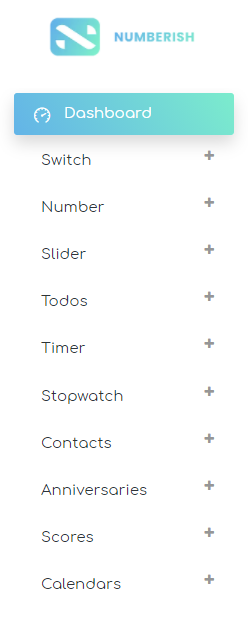
At your Numberish dashboard, click the + sign behind the Switch item from left menu. Or at the work area of the dashboard itself, click the + Add New option. Then choose Switch as card type.

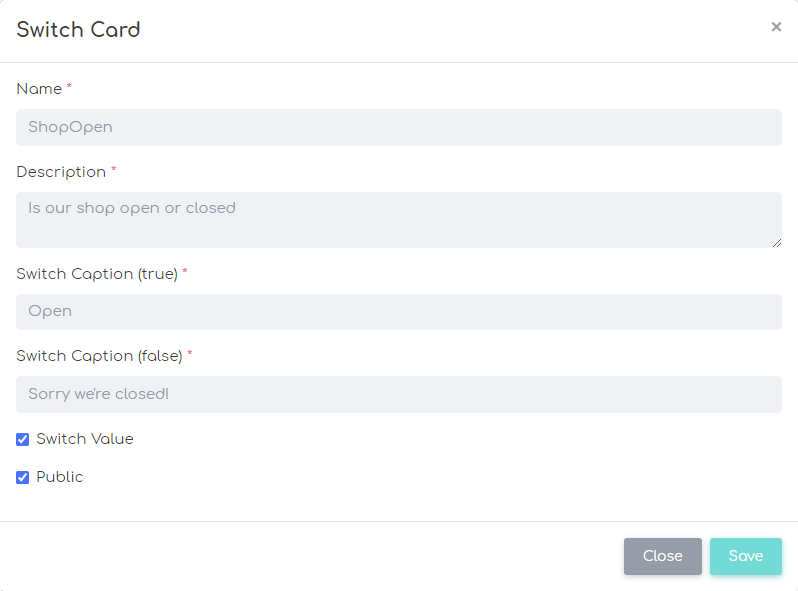
Give the card a name. This name is also used as hashtag to uniquely identify a Numberish card. Use letters and numbers only. No spaces or other special characters are allowed.
Also give this card a good description so that you and others can find this card, and understand the meaning.
Set the caption for the ON or True value. Next to that, set the caption for the OFF of False value.
At the Switch Value checkbox, you can set here the initial switch value.
Finally you can declare this card as a public or private card. Public cards and values can be found, seen and followed by others. While private cards, are for you and you only.
Click the Save button to commit your changes.

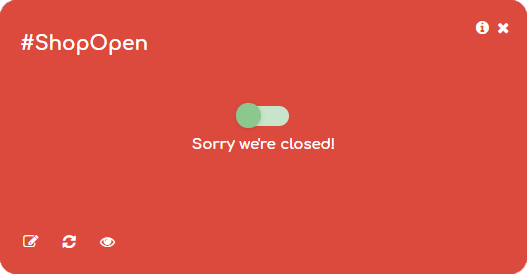
At this point, we can see the Numberish card in runtime mode. Here we can basically only change the switch value. Click the switch to take the opposite value. Any change here will be written back to the Numberish database, and visible to all others using and following this card.

