Manage all your meetings, projects, visitors, rooms with a calendar card.
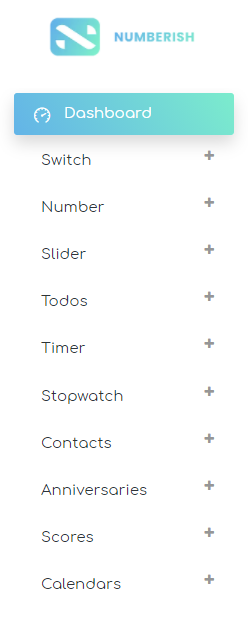
At your Numberish dashboard, click the + sign behind the Calendars item from left menu. Or at the work area of the dashboard itself, click the + Add New option. Then choose Calendars as card type.
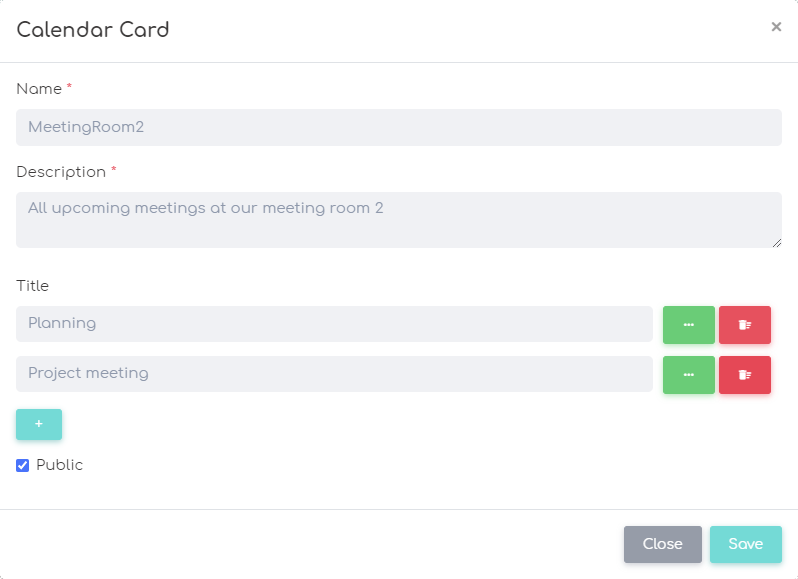
Give the card a name. This name is also used as hashtag to uniquely identify a Numberish card. Use letters and numbers only. No spaces or other special characters are allowed.
Also give this card a good description so that you and others can find this card, and understand the meaning.
Type the name of an event and click the green button for more details. Remove it from the list by clicking the red button. Use the button with the plus sign to add more events to this calendar.
And finally declare this card as a public or private card. Public cards and values can be found, seen and followed by others. While private cards, are for you and you only. Click the Save button to commit your changes.
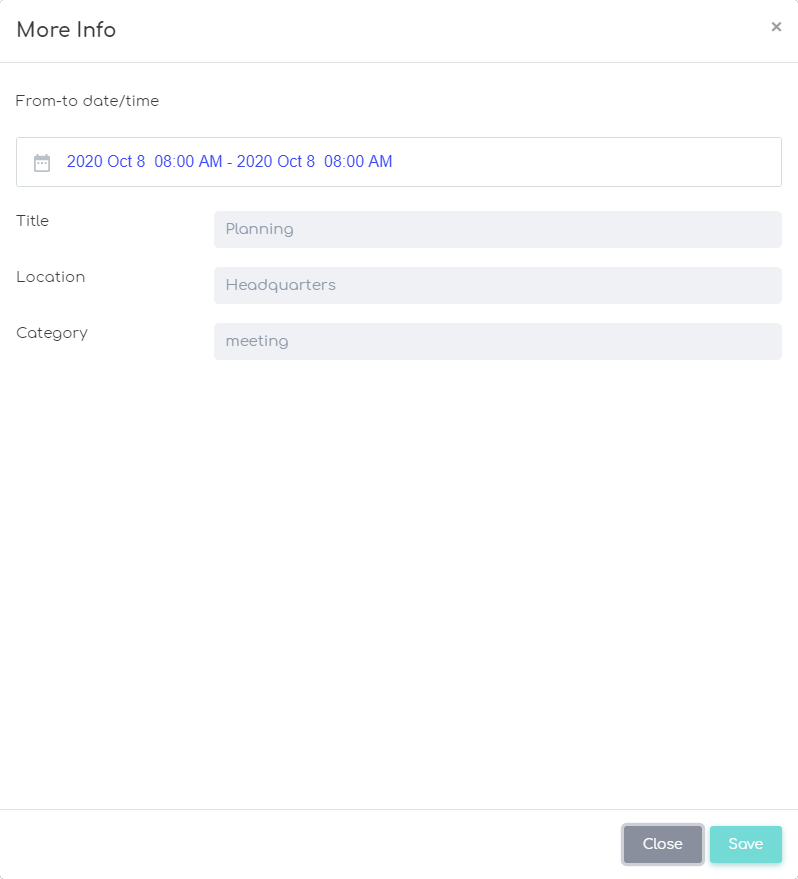
When you click on the green button, you arrive here on this view. You can modify the title or name of the event. Optionally you can set a location and assign a category.
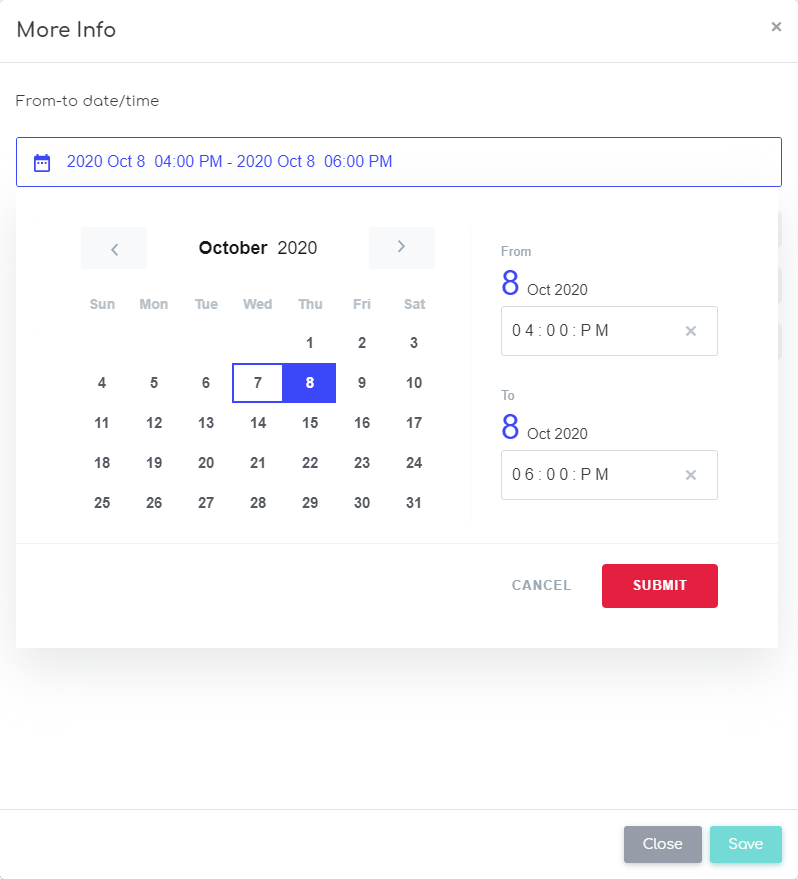
Click on the dates at the top to open the calendar view.
On this calendar view, you can set the from and to period.
First select the date at the left on the calendar control. Then set its time at the right.
Next do the same for the to date.
Hit the red Submit button to return to the previous view.
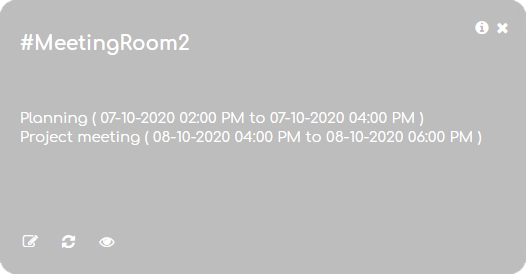
See this calendar at runtime for a clear and direct overview on all your meetings, appointments, events, milestones, and more.